The original 1979 interior cloth started to deteriorate rapidly in the last couple of years, especially the pilot seat. I wanted to repair the upholstery without making any major changes. I decided to replace all the upholstery with preassembled PMA replacement parts from Airtex. The project started in December 2004 and ended in February 2005. I first obtained the 2004 Selection Guide from Airtex, which contains sample swatches of base fabrics, trim vinyls, headlining and carpeting. I decided on Granite 3044 standard base fabric, Duratrim vinyl trim in DT-79 Cadet and basic black carpet.. Seat upholstery, side trim panels, carpet and a pint of approved glue were ordered from Airtex in early December. The carpet and glue arrived first, followed a couple of weeks later by the seat material and, in another couple of weeks, the side trim panels and miscellaneous other pieces. Airtex did not provide any instructions, but most of the installation was easy to figure out. Airtex provides several items above and beyond the original: rear side trim panels, baggage area carpet and hat shelf carpet. Even with the additional items, the Airtex set actually saves about four pounds useful load over the old materials. Total material cost was about $1500. Labor time was maybe 12 hours, spread over two months and many trips back and forth from home to airport. Stainless replacement fasteners were used whenever possible. All exposed screw heads and washers were painted textured black. |
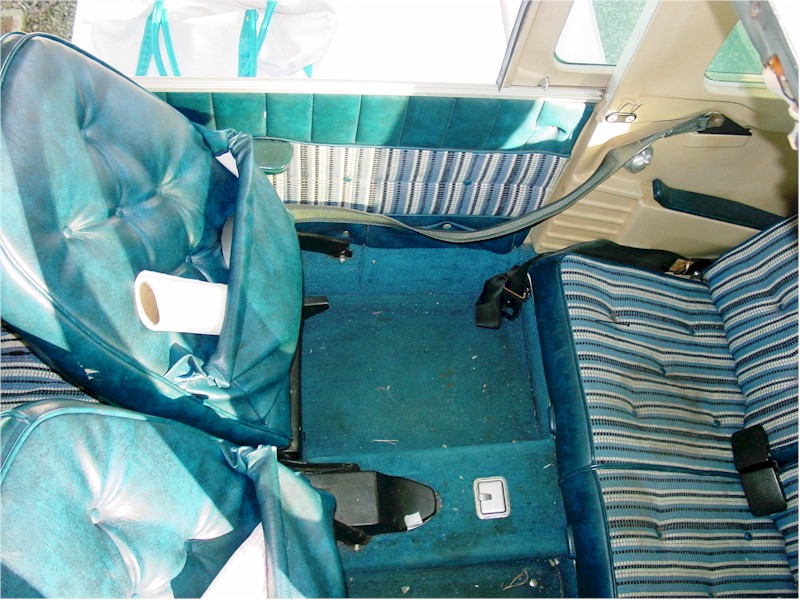
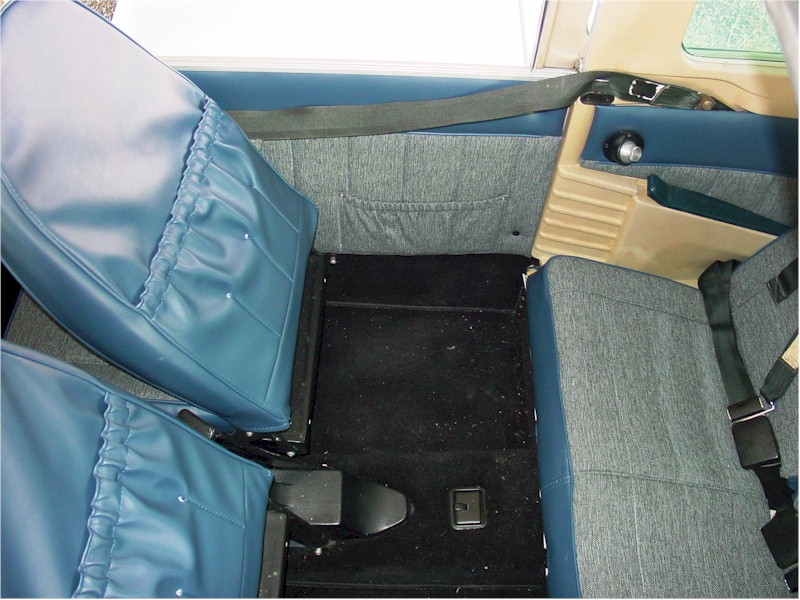
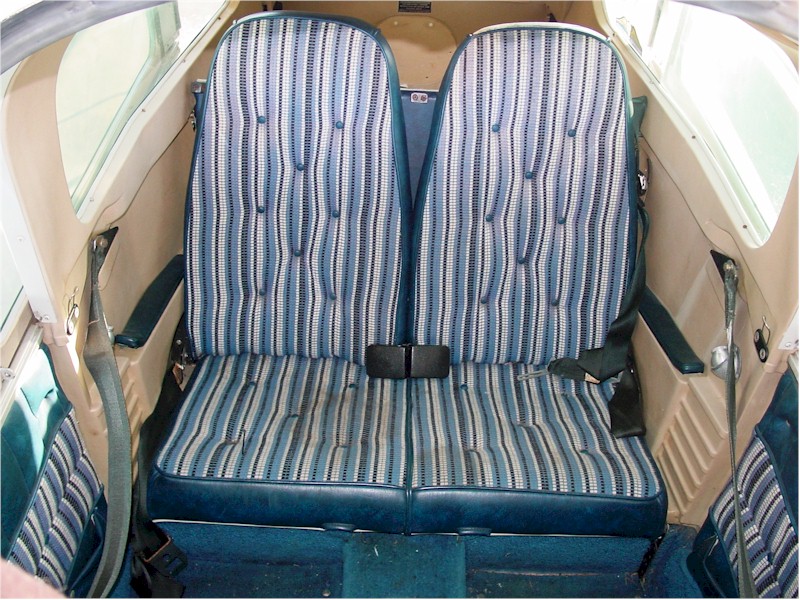
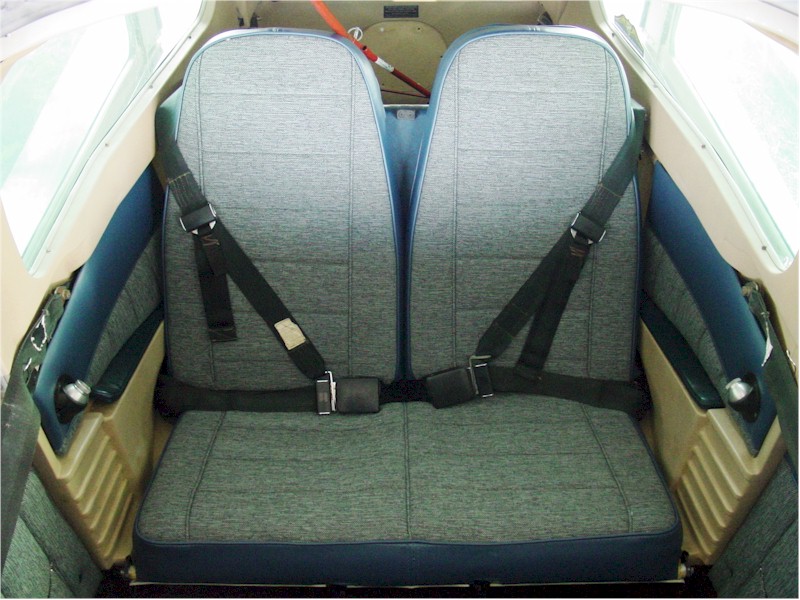
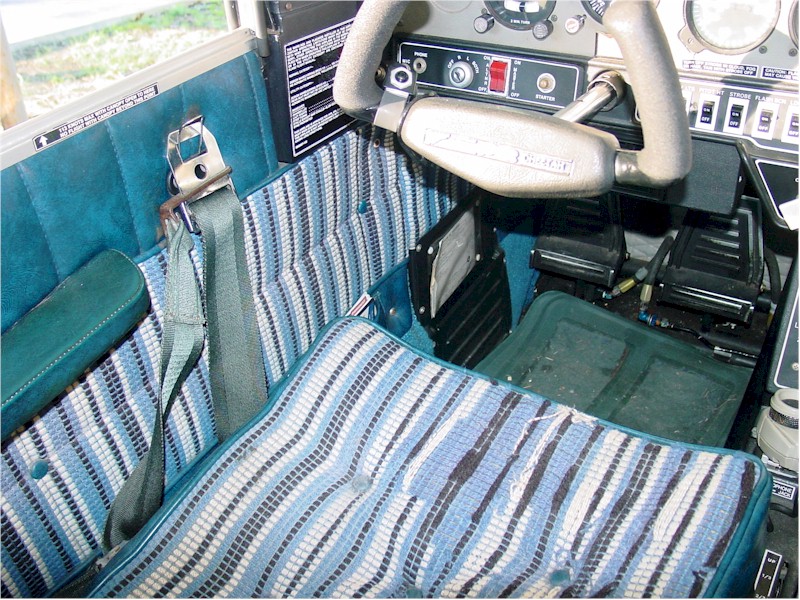
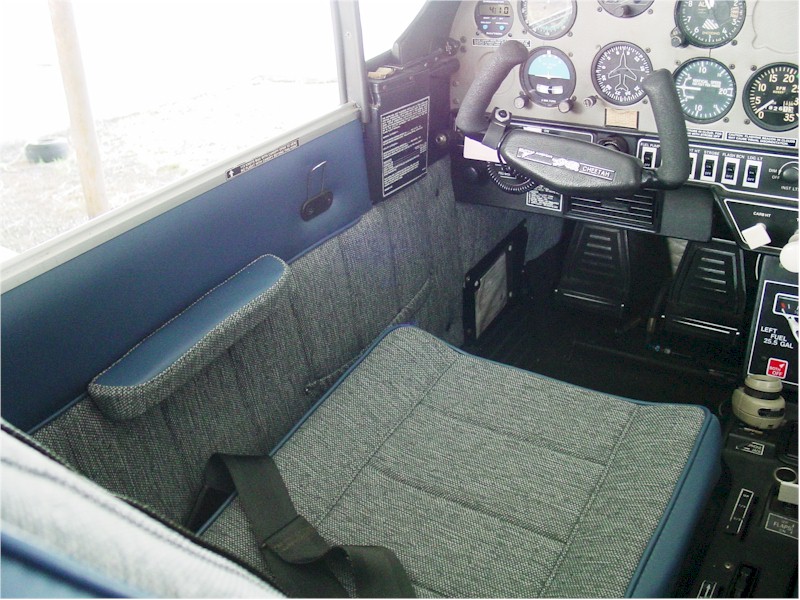
| (The left picture is "before" and the right picture is "after", click any picture for a larger view.) |
Rear trim panels The two long floor carpet pieces are simply laid in place and secured using the snaps provided. The lower side panels and center tunnel were removed, old carpet removed and cleaned of old glue using upholstery glue remover. The new carpet pieces were glued with Airtex cement. Several small pieces are similarly glued in place after scraping the old glue away. Some minor trimming and cutting was required. Note that the ashtray has been removed, shot blasted and painted black. Airtex provided rear side trim panels, not part of the original upholstery scheme. I cleaned and painted the air vents and installed them after carefully cutting a hole through the trim panels. The trim panel on the baggage door side had to be shortened slightly to not interfere with the baggage opening. |
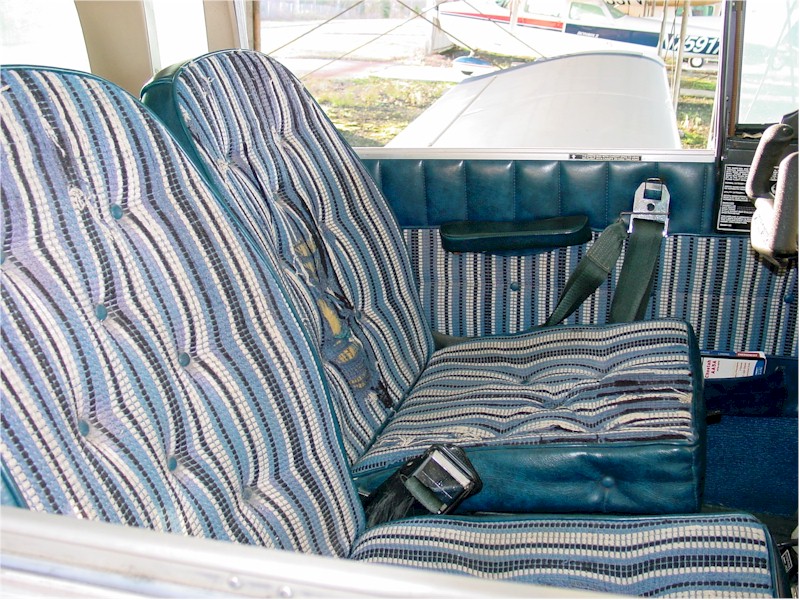
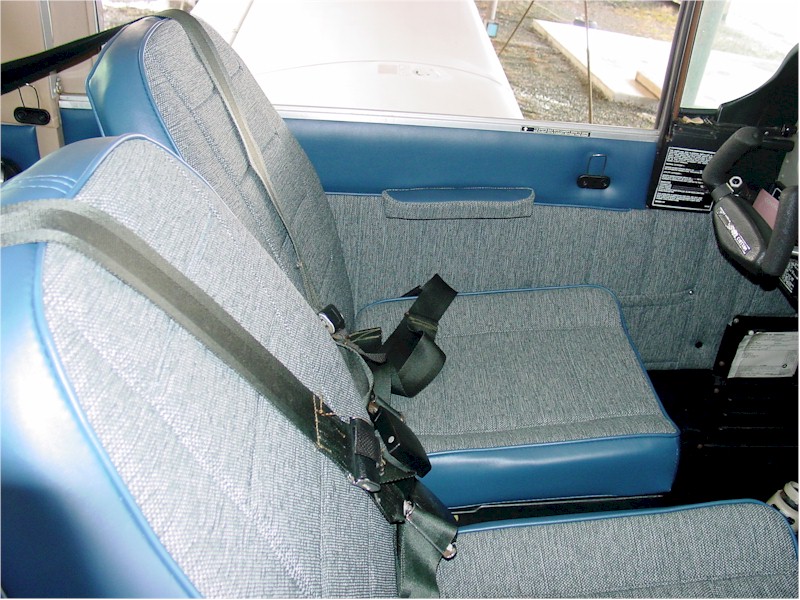
Like the rear seat backs, the buttons were popped out and the new backs slipped into place. The old bottoms were completely replace with new complete pieces from Airtex. The bottoms attach with snaps on the ends of elastic straps. These straps were wrapped around the lower tubular support inside the seat backs and snapped into the existing bottom seat snaps. This results in constant tension on the elastic straps and keeps the bottoms pulled back into position. The bottoms still flip up at the front to allow stepping on the plastic seat pan when entering and exiting the craft. Airtex provided pockets behind each front seat back as in the original design. Removing the old seat back required reaching up inside the seat back from below and unsnapping the ends of the elastic cords. These cords pass through seat pocket stiffening rods, which are no longer needed with the Airtex seat set. |
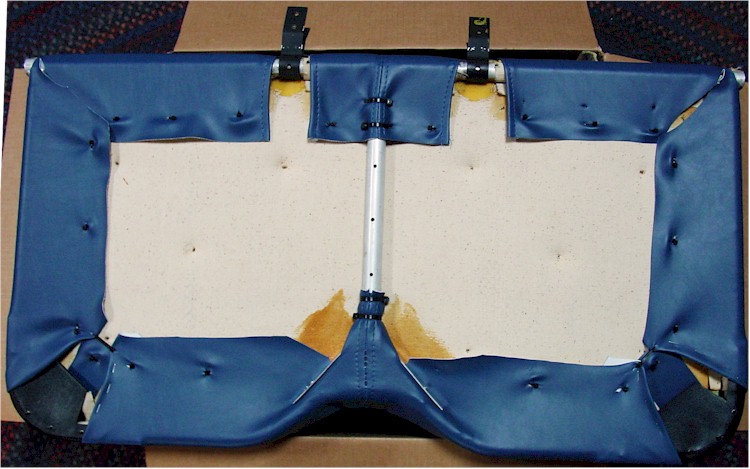
The seat backs and bottoms required popping out the buttons, for which I used an upholstery crowfoot tool. The new covers slip over the existing foam of the removeable seat backs. The bottom required removal and drilling out of 57 each 5/32 pop rivets and fitting of the supplied upholstery piece. Two small holes were strategically drilled in the tubular frame to shake out the old rivet bits. I used nylon tie wraps instead of the upholstery clips originally used to stretch the bottom vinyl piece and to hold it in place while resetting all the rivets. Airtex did not supply a vinyl replacement piece for the hinged rear seat (the part that folds down to become the cargo floor). The original vinyl is in good shape and the color match is good, so I am not replacing it. Airtex supplied replacement covers for the rear armrests; however, the originals are in good shape so I elect not to replace them immediately. |
& Armrests The main side panels come complete and ready to affix with screws and washers at the corners. The old armrest supports were replaced with new PMA parts from Fletchair, retaining the old dense molded foam inserts. The kick panels required removing the old upholstery and fitting, gluing and clamping the new. The elastic material behind both side pockets was replaced. |